


UeeVii
UeeVii CPE820 Wireless Bridge Gigabit High Speed 3KM Outdoor CPE,2-Pack
- CPE820 Gigabit wireless WiFi bridge
Shipping & Returns
1. Ship the goods immediately after confirming the order.
2. 30-day money-back guarantee for any reason
3. 12-month warranty for quality-related issues
4. Lifetime free technical support service
5. We take care of all quality-related issues with a REPLACEMENT.
6. Reminder: Be sure to use your product as directed.

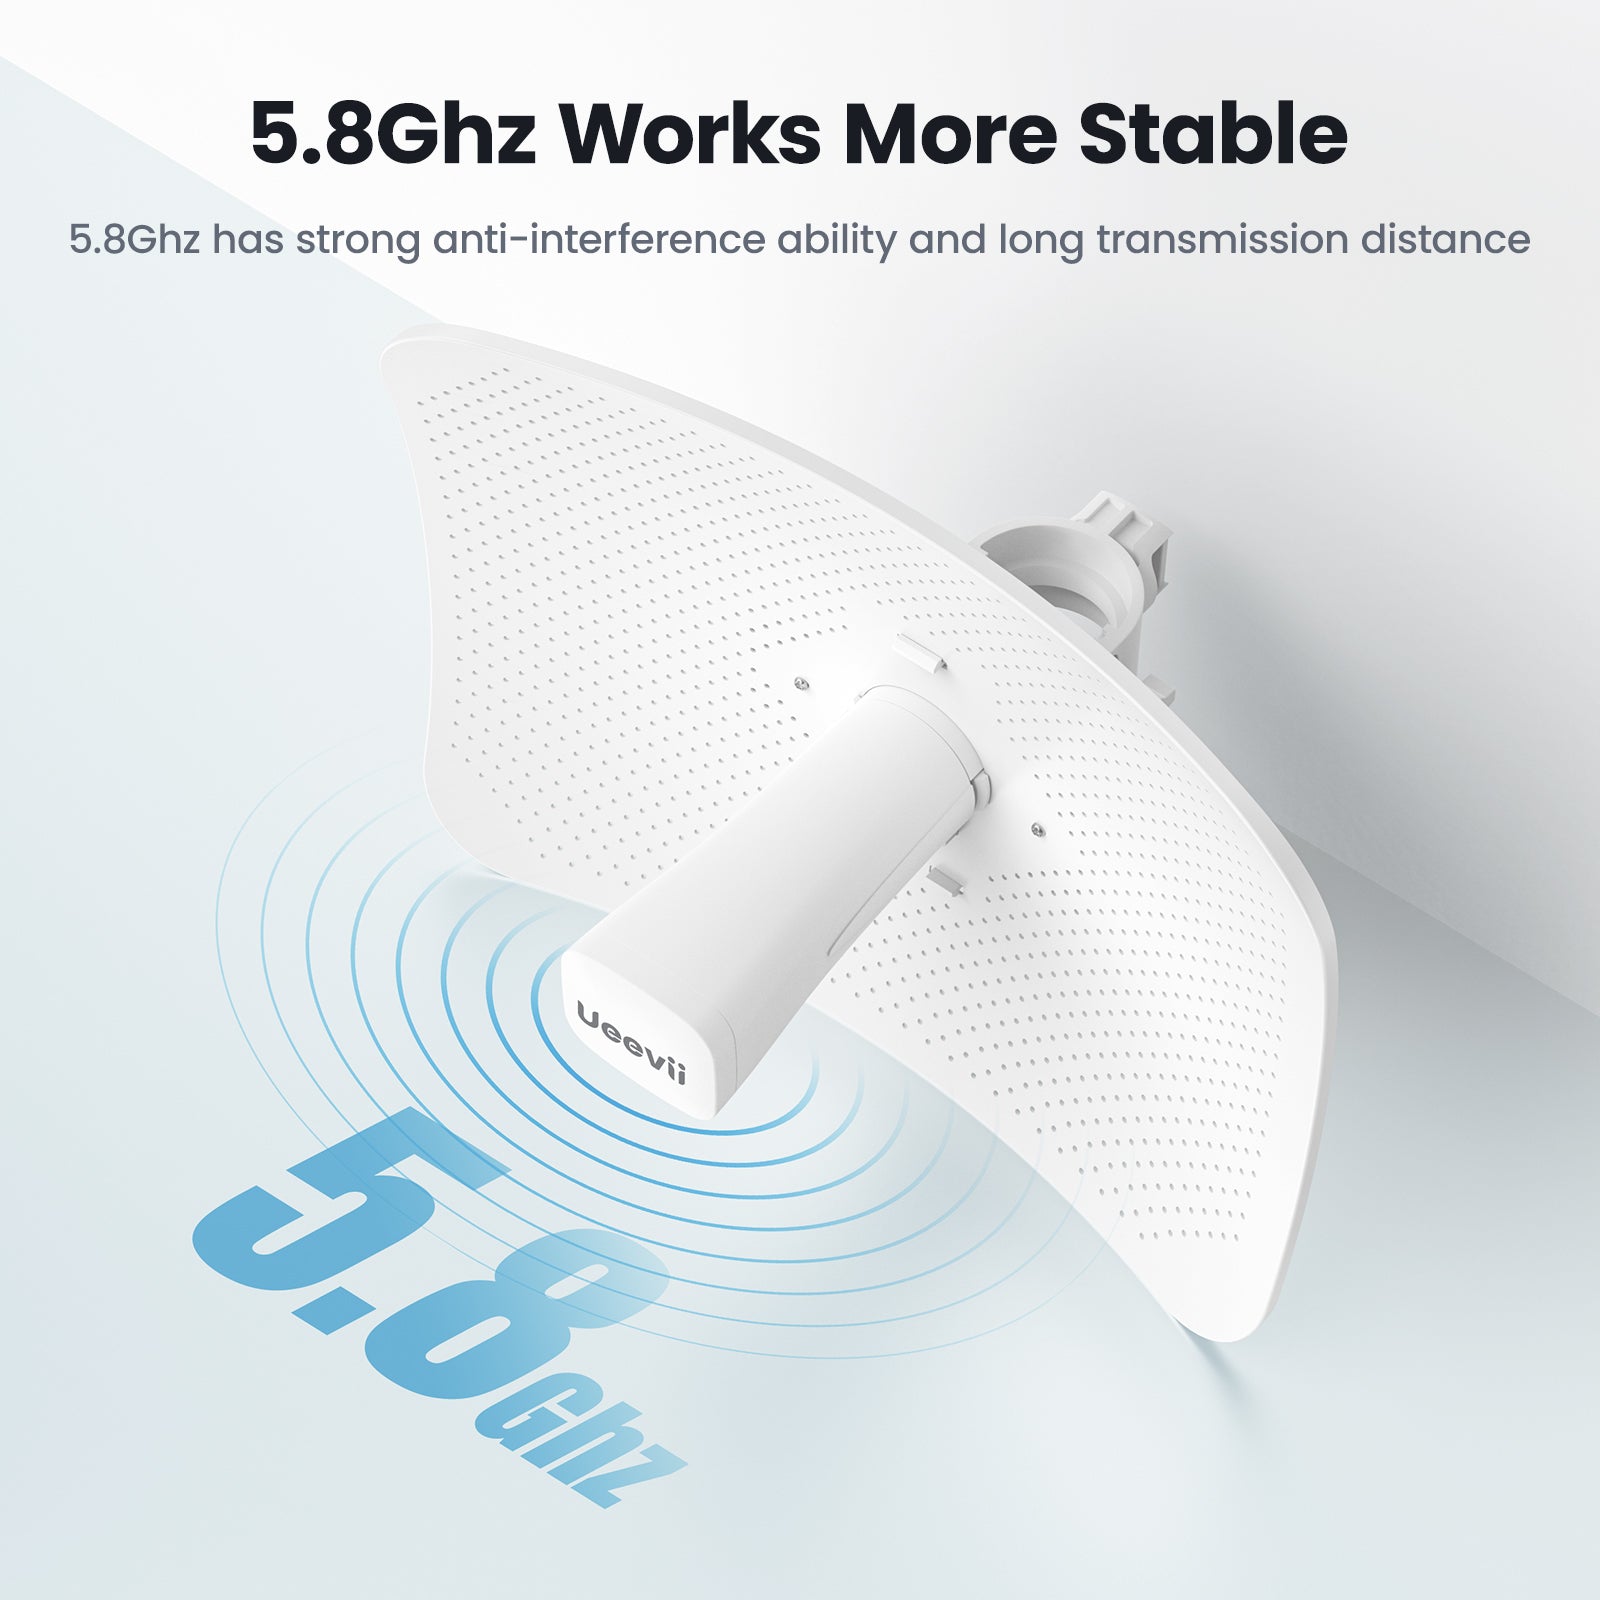
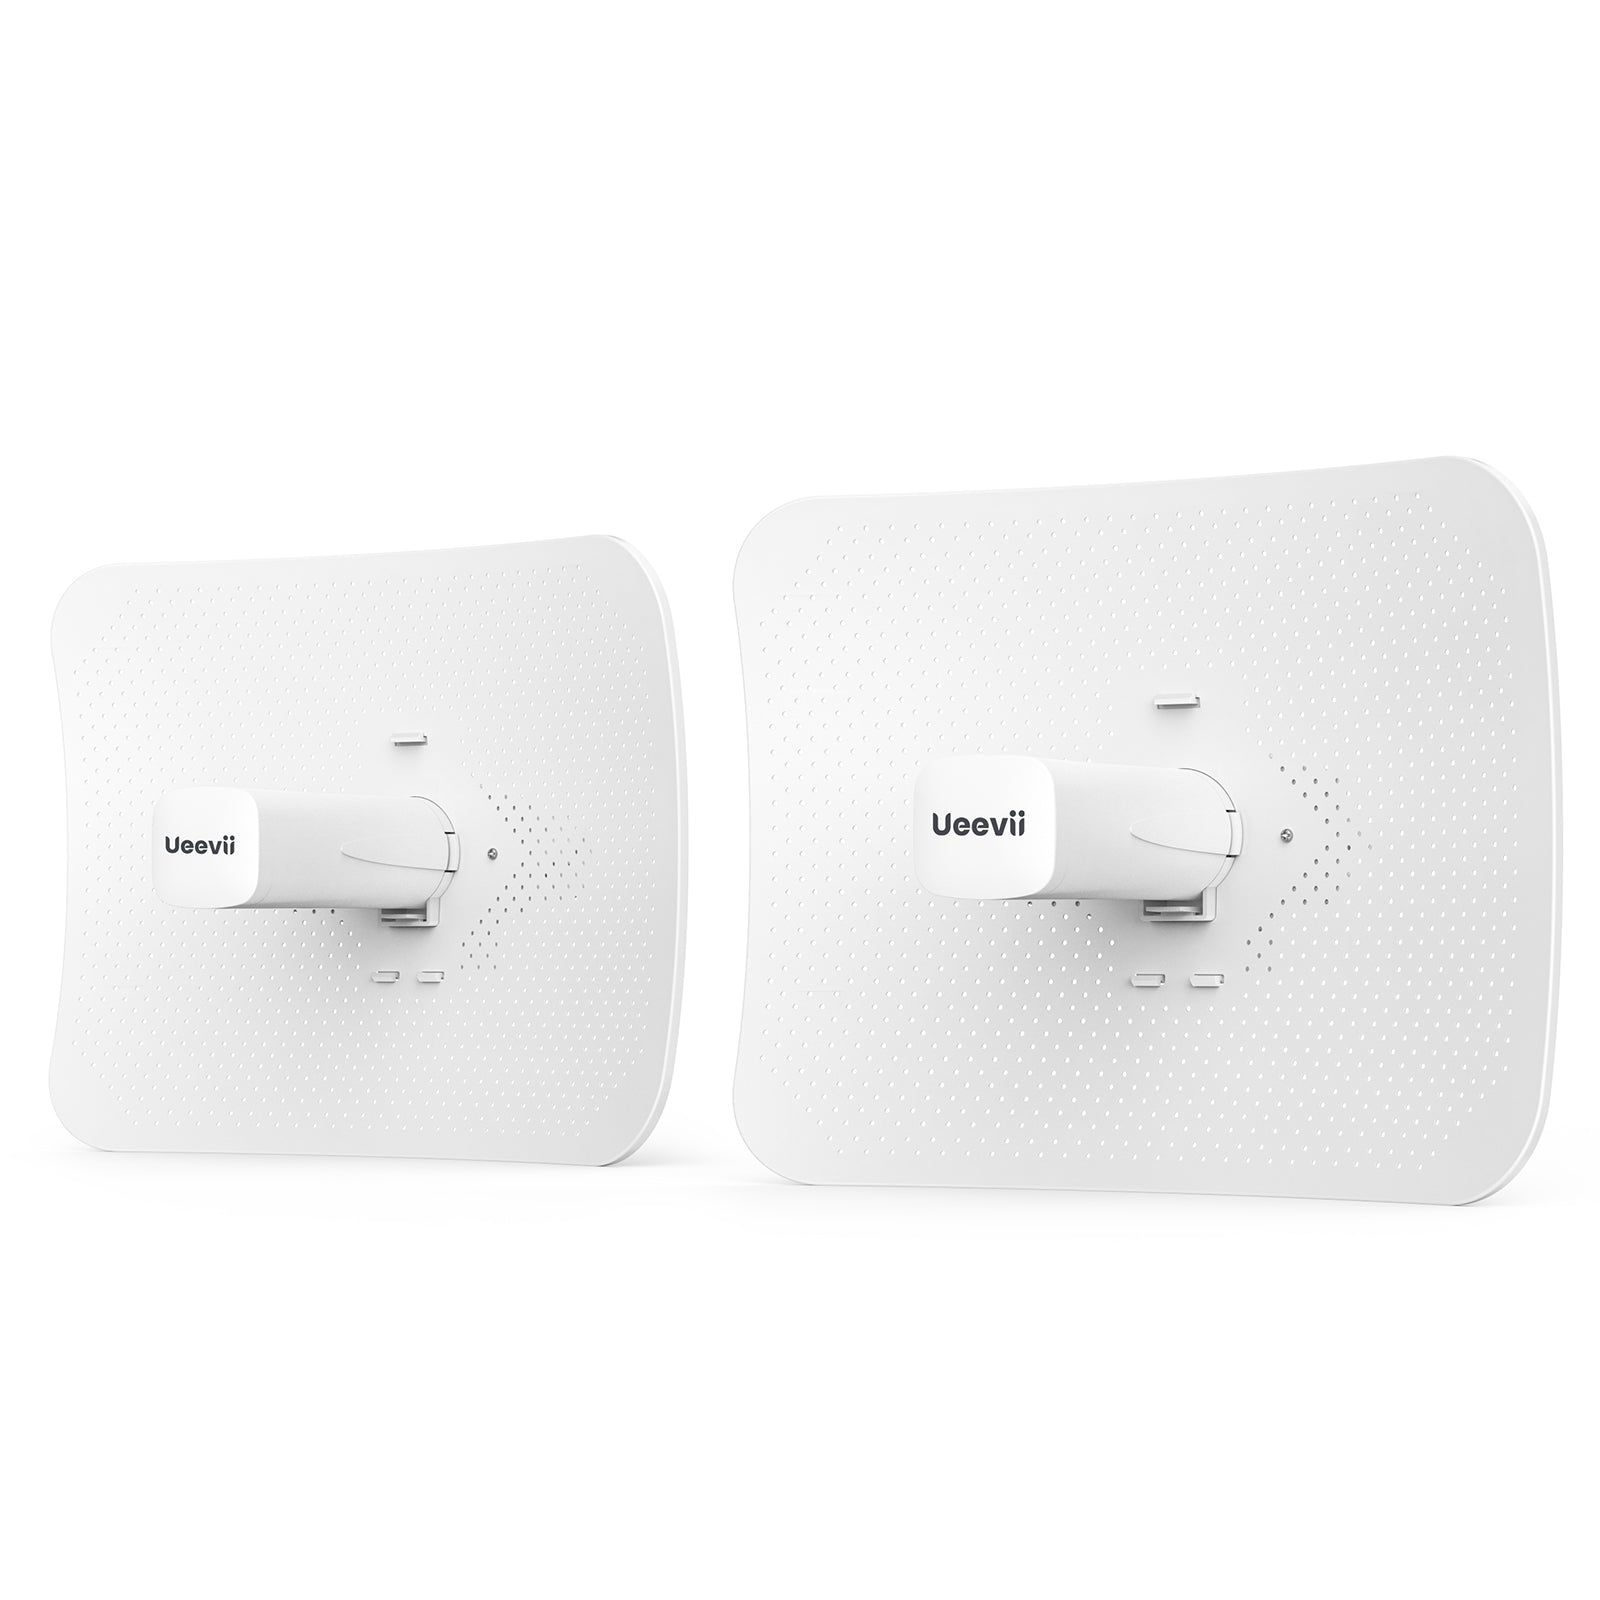
UeeVii CPE820 is a long-distance 5.8G wireless transmission device. It uses wireless communication technology to transmit network data using air as a medium to perform long-distance point-to-point or point-to-multipoint interconnection. The working data link layer realizes the interconnection of local area networks. The transmission distance can reach up to 3km. CPE820 Video Bridge Transmission usually consists of two devices in AP and Client mode respectively. On the Client-side (Receiving side) CPE connects with IP Camera, at the AP side (Transmitting side) CPE connects with a video recorder. The AP can be receiving wireless data transmitted from multiple Clients, and it is easy and convenient for centralized management of the remote equipment. CPE is widely used in highways, reservoir river monitoring, elevator monitoring systems, site crane monitoring systems, port terminal monitoring systems, marine aquaculture monitoring systems, and so on. Point to point extend network WiFi range, extend the network in the house to your barn, garage, church, warehouse, and even neighbor's house through wireless bridge signal transmission. No need to install a new modem and pay for it every month, saving you money.
Package Included:
2 * CPE820 Gigabit Bridge
2 * Gigabit POE Adapter (24V)
2 * Cat 5e Network Cable
2 * Metal Hoop
1 * User Manual

Applications Case
I was looking for a wireless bridge to bring internet connection to my backhouse about 500 feet from the main house, which is too far for wifi range and too long to run the ethernet cable. I connected the adapter to the bridge using the ethernet cable on one end and the other end of the ethernet cable to the main house internet hub. I connected the other adapter to the other bridge using another ethernet cable for the backhouse. I like that the bridges can go very far, up to almost a mile without obstruction, which is ample for my need. Will look to see if the bridge can be connected wirelessly to the hub in the main house.

Helpful Indicator Lights
Change the characters of the digital tube at the bottom of the wireless bridge to modify the pairing signal channel. The steady light state indicates that it is working, and the blinking state indicates that it is being set. The lights on the sideshow the power and LAN connection status, and the signal lights indicate the signal strength of the paired 2 bridges.

Only One 1Gbps Post
The wireless bridge has 1 100Mbps and 1000Mbps RJ45 ports, both of which can accept a 24V PoE power supply, recommended to use the 100M port for power supply, and the gigabit port is directly connected to the network, which will make the network speed better. And the CAT 5e network cable can be used as a power cable to supply power and transmit data. DC power supply is not recommended. The PoE adapter has a PoE port and a LAN port, and only the PoE port supplies power.

Switch Master-slave Bridge
Point wireless bridge switches the master and slave bridges through the A-B button, A represents the master bridge, and B represents the slave bridge. In point-to-multipoint, take one of the bridges as A, and the other bridges as B, and then set them to the same pairing character to complete the point-to-multipoint pairing.

Easy Installation
You can fix the point-to-point bridge on the bracket (ASIN: B09NLLG8MZ) with metal ties, or you can hang it on the wall; 2 wireless bridges are installed face to face as much as possible, with a clear view. It is recommended to purchase the UeeVii Universal Bridge Bracket.

Lane Monitoring Application
Display your courtyard camera, garage camera, and driveway camera images in the monitoring room wirelessly, without digging and burying lines, destroying the road, and saving costs.

Elevator Monitoring Application
Using a wireless bridge to transmit monitoring signals in elevator monitoring can effectively avoid cable damage and obtain stable monitoring images. Wireless bridges are especially important in large projects, where they can be quickly deployed and easily dismantled for reuse.

Network Extension Application
Extend the network in the house to your barn, garage, church, warehouse, even neighbor's house through wireless bridge signal transmission. No need to install a new modem and pay for it every month, saving you money.


How to Access and Setting the Wireless Bridge CPE Through Computer Access:
- Step 1. Use a PoE adapter to power the wireless bridge through a network cable. Pay attention to the "PoE" and "LAN" ports marked on the PoE adapter, and power is supplied by POE instead of a DC power interface.
- Step 2. Use a network cable to connect the CPE "LAN" port, connect the network cable other ends to the PoE Adapter "POE" port, use another network cable to connect to the "LAN" port of the PoE adapter, and connect the other end of the network cable to the computer's "LAN" port.
- Step 3. Find the number of the Wireless Bridge CPE digital display tube. For example, the number is 1 and the CEP is the A master bridge, then the IP of this CPE is 192.168.255.101; if the CPE is the B slave bridge, then the IP address of the CPE is 192.168.255.201.(There is a table corresponding to a number and IP in the manual)
- Step 4. Very important step: Modify your computer's IP address, change your computer's IP address to 192.168.255.xxx(192.168.255.xxx cannot be the same as the IP of the CPE), make your computer's IP and the bridge's IP address be on the same network segment so that you can access them. Please refer to the manual to modify the computer IP address step or Google searches how to modify the computer IP address, it is very simple.
- Step 5. After you modify your computer's IP address, you open the computer browser and enter the IP address of the wireless bridge to access. For example, enter 192.168.255.101 to access.
- Step 6. Enter the account password "admin/admin" to access, and set it after successful access.
Purchase Tips: The installation of this device requires some network knowledge. If you can't install it, please let us know or contact a professional. If the product is damaged or missing accessories, please let us know to reissue a new set. This CPE cannot directly expand the WiFi range for you. If you have any questions, you can free feel to let us know via Amazon or Email, we will quick response and help you solve your questions.
How to find and change CPE820 WiFi SSID and password?
1. Find the WiFi hotspot password of CPE450, path: Setting-->Wireless--> Name(SSID) and Password.
2. Enter the new SSID and password and save.


