
Overall, this product is very good and is cheaper than competitors (i.e. overpriced Ubiquiti) but the configuration & doc can be better. Tech support via email is very good if you're okay with next day response. The casing does not seem fade by the Summer sun light.
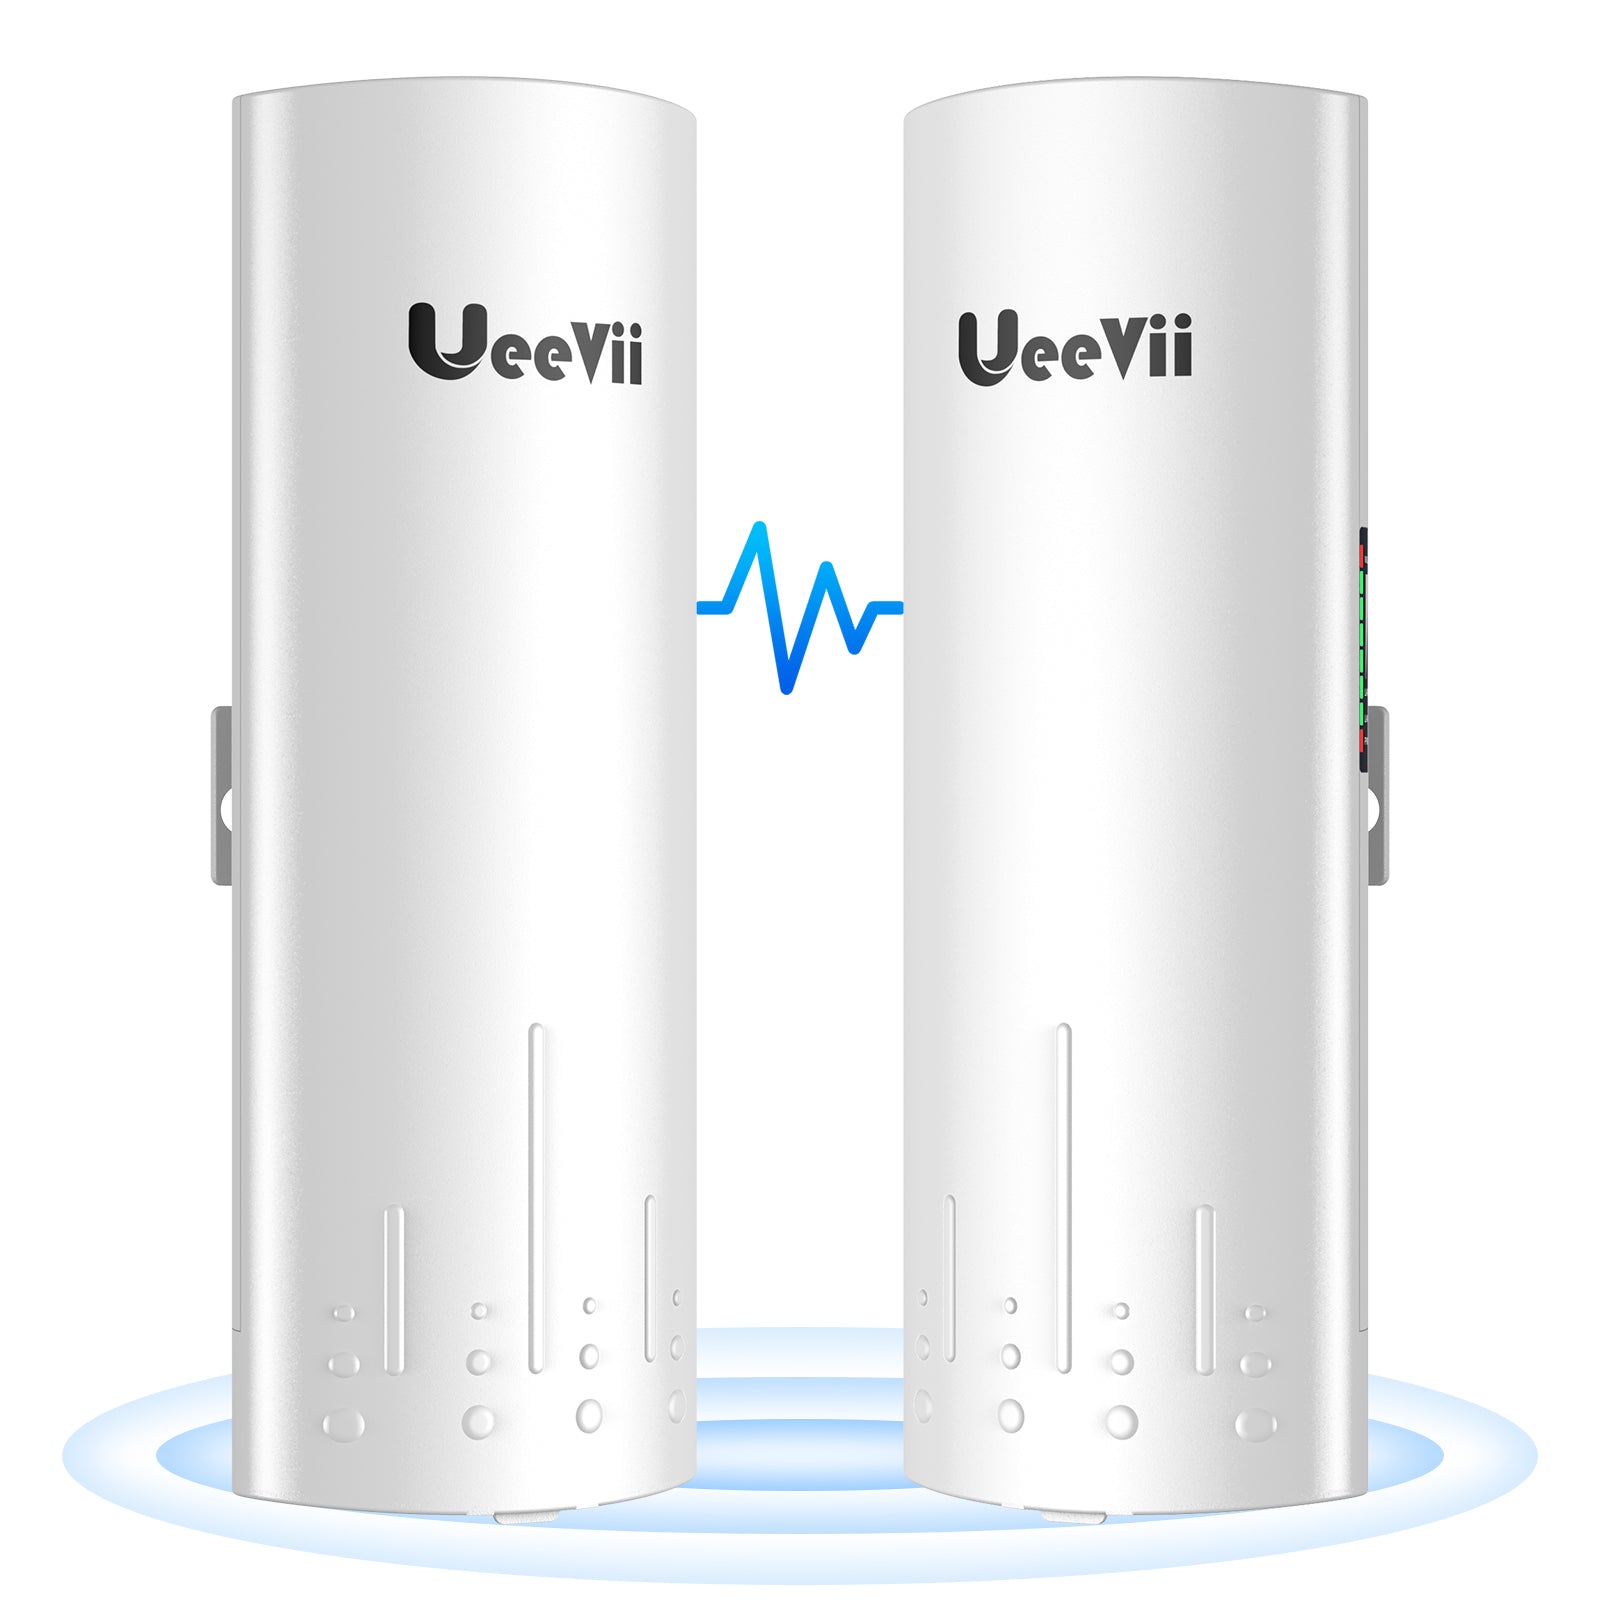
If your needs is inline with what the product is designed for, it's very easy to configure. You'll just need to plug in a few things and set one to A (Master or Bridge) and the other to B (Slave or Station) per their document. You'll be able to hook up a single device like security camera onto the Slave CPE. Other people did well showing how to do that in their comment. However, if you have a more complex needs, like having a whole network on Slave side, you'll need to do more. Read on. Perhaps I can help here.
First, you should review the images attached to my comment, especially the networking diagram that I wanted to achieve. In short, on the Slave side, I have a whole network that MUST have the same subnet (i.e. 192.168.5.XXX) of the Master side. If you don't need both sides having the same subnet, you can choose to follow my steps (for bonus feature below) or perhaps connect a ROUTER on the Slave side to control IPs. In my case, to keep the same subnet, I cannot use a router.
The way you set this up is 1,2,3:
1) Set up both Master's & Slave's IPs to the existing network's subnet (ie. 192.168.5.xxx) instead of their default (192.168.255.xxx)
2) Sync the 2 CPEs on the Admin page.
3) Test before deployment.
Details:
After you did basic steps to set up CPEs to A or B, and sync them (let's say, to C channel w/ IP 192.168.255.112 and 212), then...
a) Config Master: Connect its power plug-in's POE side to 1 Cat inlet on the CPE. Connect your laptop to the 2nd Cat inlet on the CPE. Change your laptop's IP to static IP at 192.168.255.7 (or any available 8, 9, 10... on the last digit). Open a browser and type in URL: http://192.168.255.112 to connect to the Master CPE's Admin page. UserID/pwd: Admin/admin. Now, do 2 tasks: (a) Click on Wireless & write down the SSID & password. You'll need them soon. (b) Click on Network & change its network IP to 192.168.5.12 (my subnet is 192.168.5). Save the changes. This will disconnect you from Admin page b/c CPE now has a new IP. Trust it's saved.
b) Config Slave: do the same physical connection between your laptop and Slave CPE. Connect to its Admin page at http://192.168.255.212. Click on Network linke & change its network IP to 192.168.5.22. Save it.
At this time, the CPEs should be out of sync, and you can only sync them via Admin page. If you check the CPEs now, you should see they have different channels and if so, the Strength signal lights are 0. In such case, keep going... you're almost there... just 1 more step.
c) Change your laptop IP to 192.168.5.7 (or any available digit). On browser, type 192.168.5.22 (Slave's new IP) to access the Slave CPE's Admin page. Click on Wireless link and scan for SSIDs. Select the Master's SSID and enter password (did you write them down in step a?). See image. You should notice both CPEs now have the same channel (A, B, or C...) and the Strength lights are at max.
IF, for any reasons, you want to check or recover the Master's SSID/pwd, you can do so by physically connect your laptop to Master CPE. Make sure your laptop now has IP as 192.168.5.xzy. On a browser, type in 192.168.5.12 (Master CPE's IP). Click on Wireless link, and you should see them.
Muy bien! Now you're done w/ configuration! Congrats.
Testing. You can unplug your laptop and test your network before deployment:
i) Change your laptop's IP to Dynamic IP (DHCP). This is to confirm the router on Master side can push new IPs to the Slave side.
ii) Connecting all components as a real, yet simple, network. Review the networking diagram as needed. On Master side, you should have Internet->Router->Master CPE .
On Slave side, you should have a Switch->laptop and other devices.
Your laptop should have IP as 192.168.5.xyz and be able to browse the Internet. If so, you're all set for deployment.
A huge bonus for this configuration is this... Since your computer and CPEs are on the same subnet, you can access their Admin pages any time without having to physically connect to each CPE. All you need to do is, on a browser, type in 192.168.5.12 or 22 to access them. Total control of the whole network at your fingertips.
Hope this helps someone.